
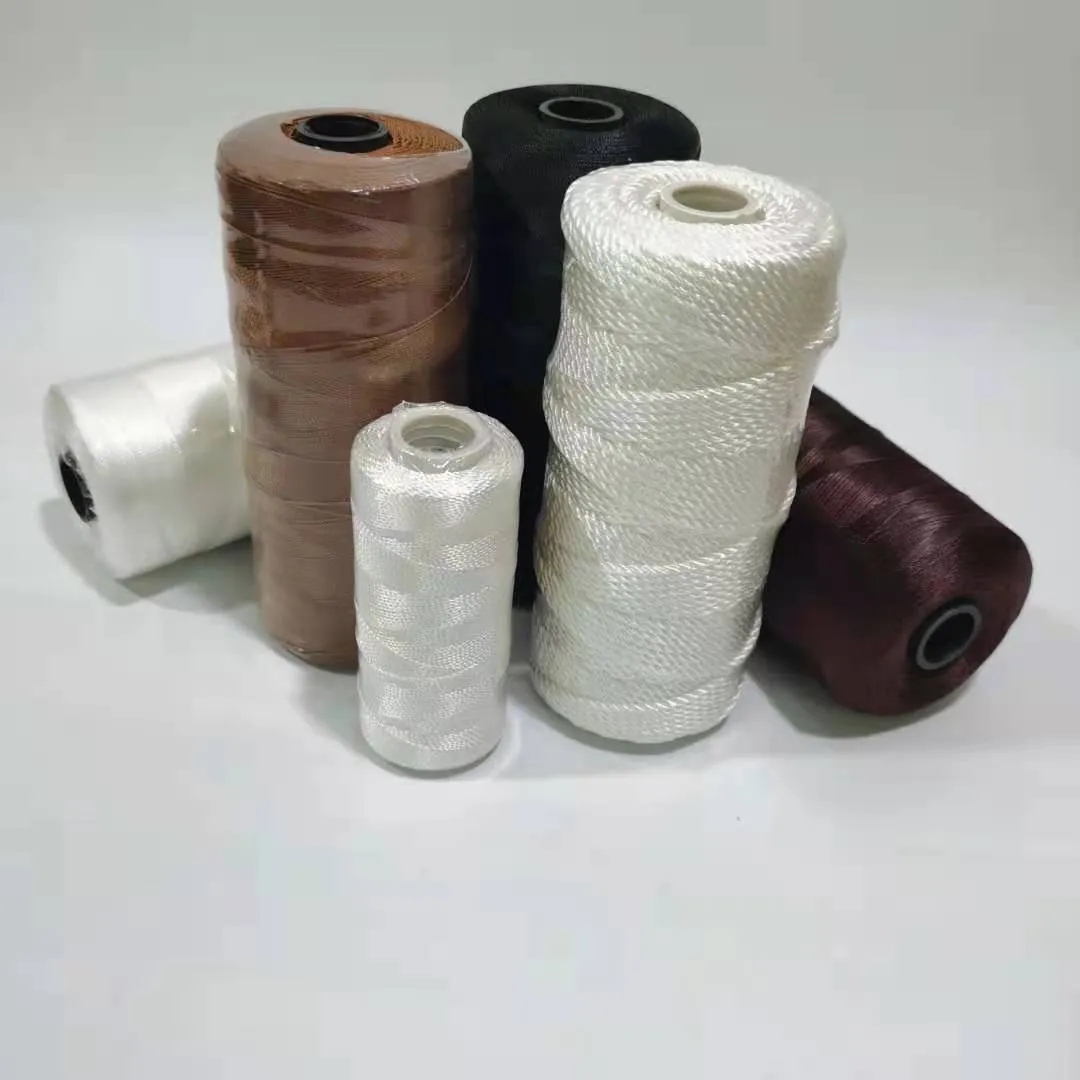
For leather machine sewing, start by sampling a suitable bonded nylon or polyester sewing thread, then match its size to the machine, needle and finished seam. Choose the combination that produces a clean stitch, passes through the complete material stack and meets the product’s seam requirements.
A shoe upper, a bag handle attachment and a decorative line on a wallet present different jobs. This guide explains how to narrow the thread choice, organise a practical sewing trial and turn the approved result into an order specification.
Define the leather seam before choosing thread
Begin with the operation. Is the stitching joining load-bearing components, closing a lining or creating a visible design detail? Record the leather type, total assembled thickness and any backing, reinforcement, adhesive or textile layer. Measure the stack at the thickest junction as well as along its ordinary straight sections.
Also describe the finished article’s use. Repeated bending, rubbing at an exposed edge, cleaning and outdoor exposure belong in the brief. These conditions help determine which thread properties and finished-seam tests need attention. For visible stitching, include the desired colour, prominence and stitch direction.
Keep genuine leather and textile-backed imitation leather as separate sampling materials. Their constructions differ, so a needle and thread combination approved on one should be tried again on the other. A flat offcut also needs a second check at the folded edges and intersections used in the actual product.
Shortlist the thread material and construction
Bonded nylon and polyester machine threads
Bonded thread is a useful starting point when ply separation or fraying interferes with sewing. Its bonded construction helps hold the plies together as the thread travels through the machine. Our bonded thread range provides a product route for developing that shortlist.
Specify both the fibre and the finish. “Bonded” describes a thread treatment, while “nylon” and “polyester” identify the underlying material. Ask for the exact construction, size and available colour in each proposed sample. For an outdoor product, request the relevant exposure information for the offered grade and include the finished seam in the evaluation.
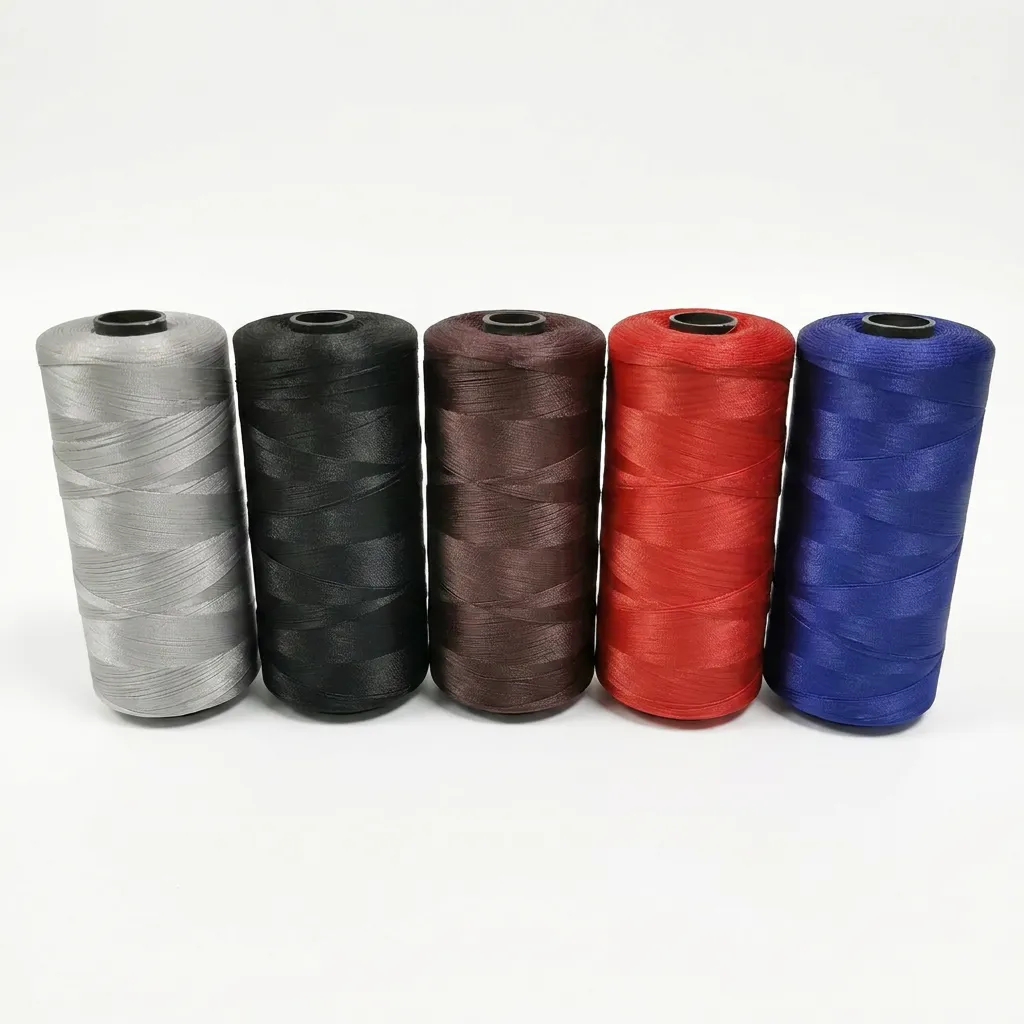
Finetex’s bonded sewing thread product lists 210D/3 and 420D/3 options. Those designations can identify samples to discuss with us; they do not establish which size your machine can handle or which will suit a particular leather assembly.
Keep size descriptions consistent
Use the supplier’s full designation when requesting samples. A ticket number, a denier-and-ply description and a Tex value are different ways of describing thread. Do not compare an unexplained number on one cone with a number from another system. Ask the supplier to state the size system and the finished thread specification.
Choose the visual effect alongside the sewing requirement. A heavier-looking line may be appropriate for bag topstitching, while a finer line may suit a small accessory. Set that preference before sampling, then check whether the machine and material can deliver it without excessive holes or unstable stitching.
Match the needle and machine to the proposed thread
Read the machine’s instructions for its needle system and supported sewing range. Confirm the needle system first; a size recommendation alone does not identify a compatible needle. Check the top-thread route, bobbin arrangement and feed mechanism with the operator or machine technician.
The thread needs space to travel through the needle eye, while the needle must remain stable in the assembled material. Groz-Beckert’s leather sewing guidance connects these requirements: the thread should move freely through the eye, and an unnecessarily thick needle creates an unnecessarily large cut.
Point shape also affects the result. SCHMETZ’s cutting point guide explains how incision direction changes stitch appearance. Its LR point, for example, makes an angled incision associated with a slanted decorative effect. Select the point for the material construction and intended seam, then verify the appearance on the real assembly.
Stitch length belongs in the same trial. Closely spaced cuts can weaken the strip of leather between holes. When changing the thread size or point shape, recheck the spacing and loaded seam rather than retaining a previous setting automatically. For leather combined with a textile backing, include backing damage in the inspection.
Run a controlled sample sewing trial
Make trial pieces from the intended production materials, including the same backing and preparation. Label each piece before sewing. Use a fresh, correctly installed needle and establish a stable baseline setting with the operator. Use the following suggested trial sequence.
- Identify sample A by fibre, construction, supplier size, colour and lot. Record the needle system, size and point.
- Sew straight sections, curves, starts, stops and the thickest junction. Include reverse stitching where the product uses it.
- Inspect the face and underside for skipped stitches, loose loops, inconsistent stitch length and visible thread damage.
- Change one variable for sample B, such as thread size. Record any necessary needle change separately so the comparison remains understandable.
- Repeat the promising combination at the intended production speed and on a representative assembled component.
For a hypothetical bag project, the team might compare two approved machine-thread sizes on a folded edge and a reinforced attachment. The purpose is to find a combination that sews consistently across both constructions. Record the observations before deciding; an attractive straight section alone does not resolve performance at the junction.
Keep the successful sample beside the setting sheet. Photographs help communicate the appearance, but retaining the physical piece lets purchasing and production compare thread coverage, underside stitching and the feel of the assembled seam.
Use sewing faults to direct the next check
| Observation | What to check next |
|---|---|
| Thread frays or separates near the needle | Inspect the needle eye, thread path and damaged components; check whether the offered construction and needle are compatible. |
| Stitches are skipped at a thick junction | Check needle installation, feeding and machine setup with the technician, then repeat the complete layer stack. |
| Loose loops appear on one side | Recheck threading and upper/bobbin tension according to the machine instructions before changing the thread specification. |
| Leather tears along the stitch line | Review cut size, point shape, stitch spacing, edge distance and seam construction together. |
| Decorative stitches look uneven around curves | Review feeding, stitch direction and point selection on a curved sample. |
Use these observations to choose the next inspection, rather than treating any one fault as proof of a defective thread. Record where it occurs and whether it repeats with a fresh needle and the same material stack. That record makes discussions with thread and machine suppliers more productive.
Approve the seam and record the buying specification
After sewing quality is stable, evaluate the seam for the article’s actual loads and use. A quick workshop pull can compare obvious differences, but a specified strength requirement needs an agreed test method and acceptance level. Distinguish the leather’s resistance around a stitch from the performance of the assembled seam.
The official ISO stitch tear method concerns leather stitch tear resistance. For assembled footwear seams, SATRA’s stitched seam testing overview describes measuring strength and recording how the seam failed. Ask the laboratory to select the method appropriate to the product and current buyer specification.
Write down whether a tested piece failed through thread rupture, material damage or another mechanism. That distinction guides the next revision. Finish the approval record with the thread specification, colour reference, machine and needle details, stitch settings, material stack, retained sample and agreed checks. Confirm package length or weight separately when converting the specification into an order.
Send us the leather assembly and sewing brief
To discuss a thread shortlist, share your sewing requirements with our team: product type, leather and backing details, assembled thickness, machine model, existing thread designation and photographs of the required seam. Include any repeated sewing fault and the buyer’s testing requirements. We can use that information to discuss available thread samples and the specifications to confirm before production approval.
Leather Sewing Machine Thread FAQ
What thread should I try first for leather machine sewing?
Begin with a suitable bonded nylon or polyester machine sewing thread within the machine’s supported range. Select samples by the complete material stack and seam purpose, then approve the combination through sewing and finished-seam checks.
Does thicker thread always make a stronger leather seam?
A thicker thread may require a different needle and change the holes, stitch formation and appearance. Evaluate the resulting seam, including leather damage and spacing, before accepting the change.
Can I choose a needle from the thread number alone?
First confirm the machine’s needle system. Then use the thread supplier’s recommendation and the needle manufacturer’s guidance to select a trial size and point for the material. Check the combination on the assembled product.
What should I send when asking about thread fraying?
Provide the thread label, machine model, needle system and size, material stack, sewing speed and photographs showing where the damage begins. Include whether the fault repeats after fitting a fresh needle and checking the thread path.